Large stock, please search or inquiry

Fenoux Electric Co., Ltd.
Home / Products / Honeywell / 82407021-001 Honeywell Programmable controller Brand new

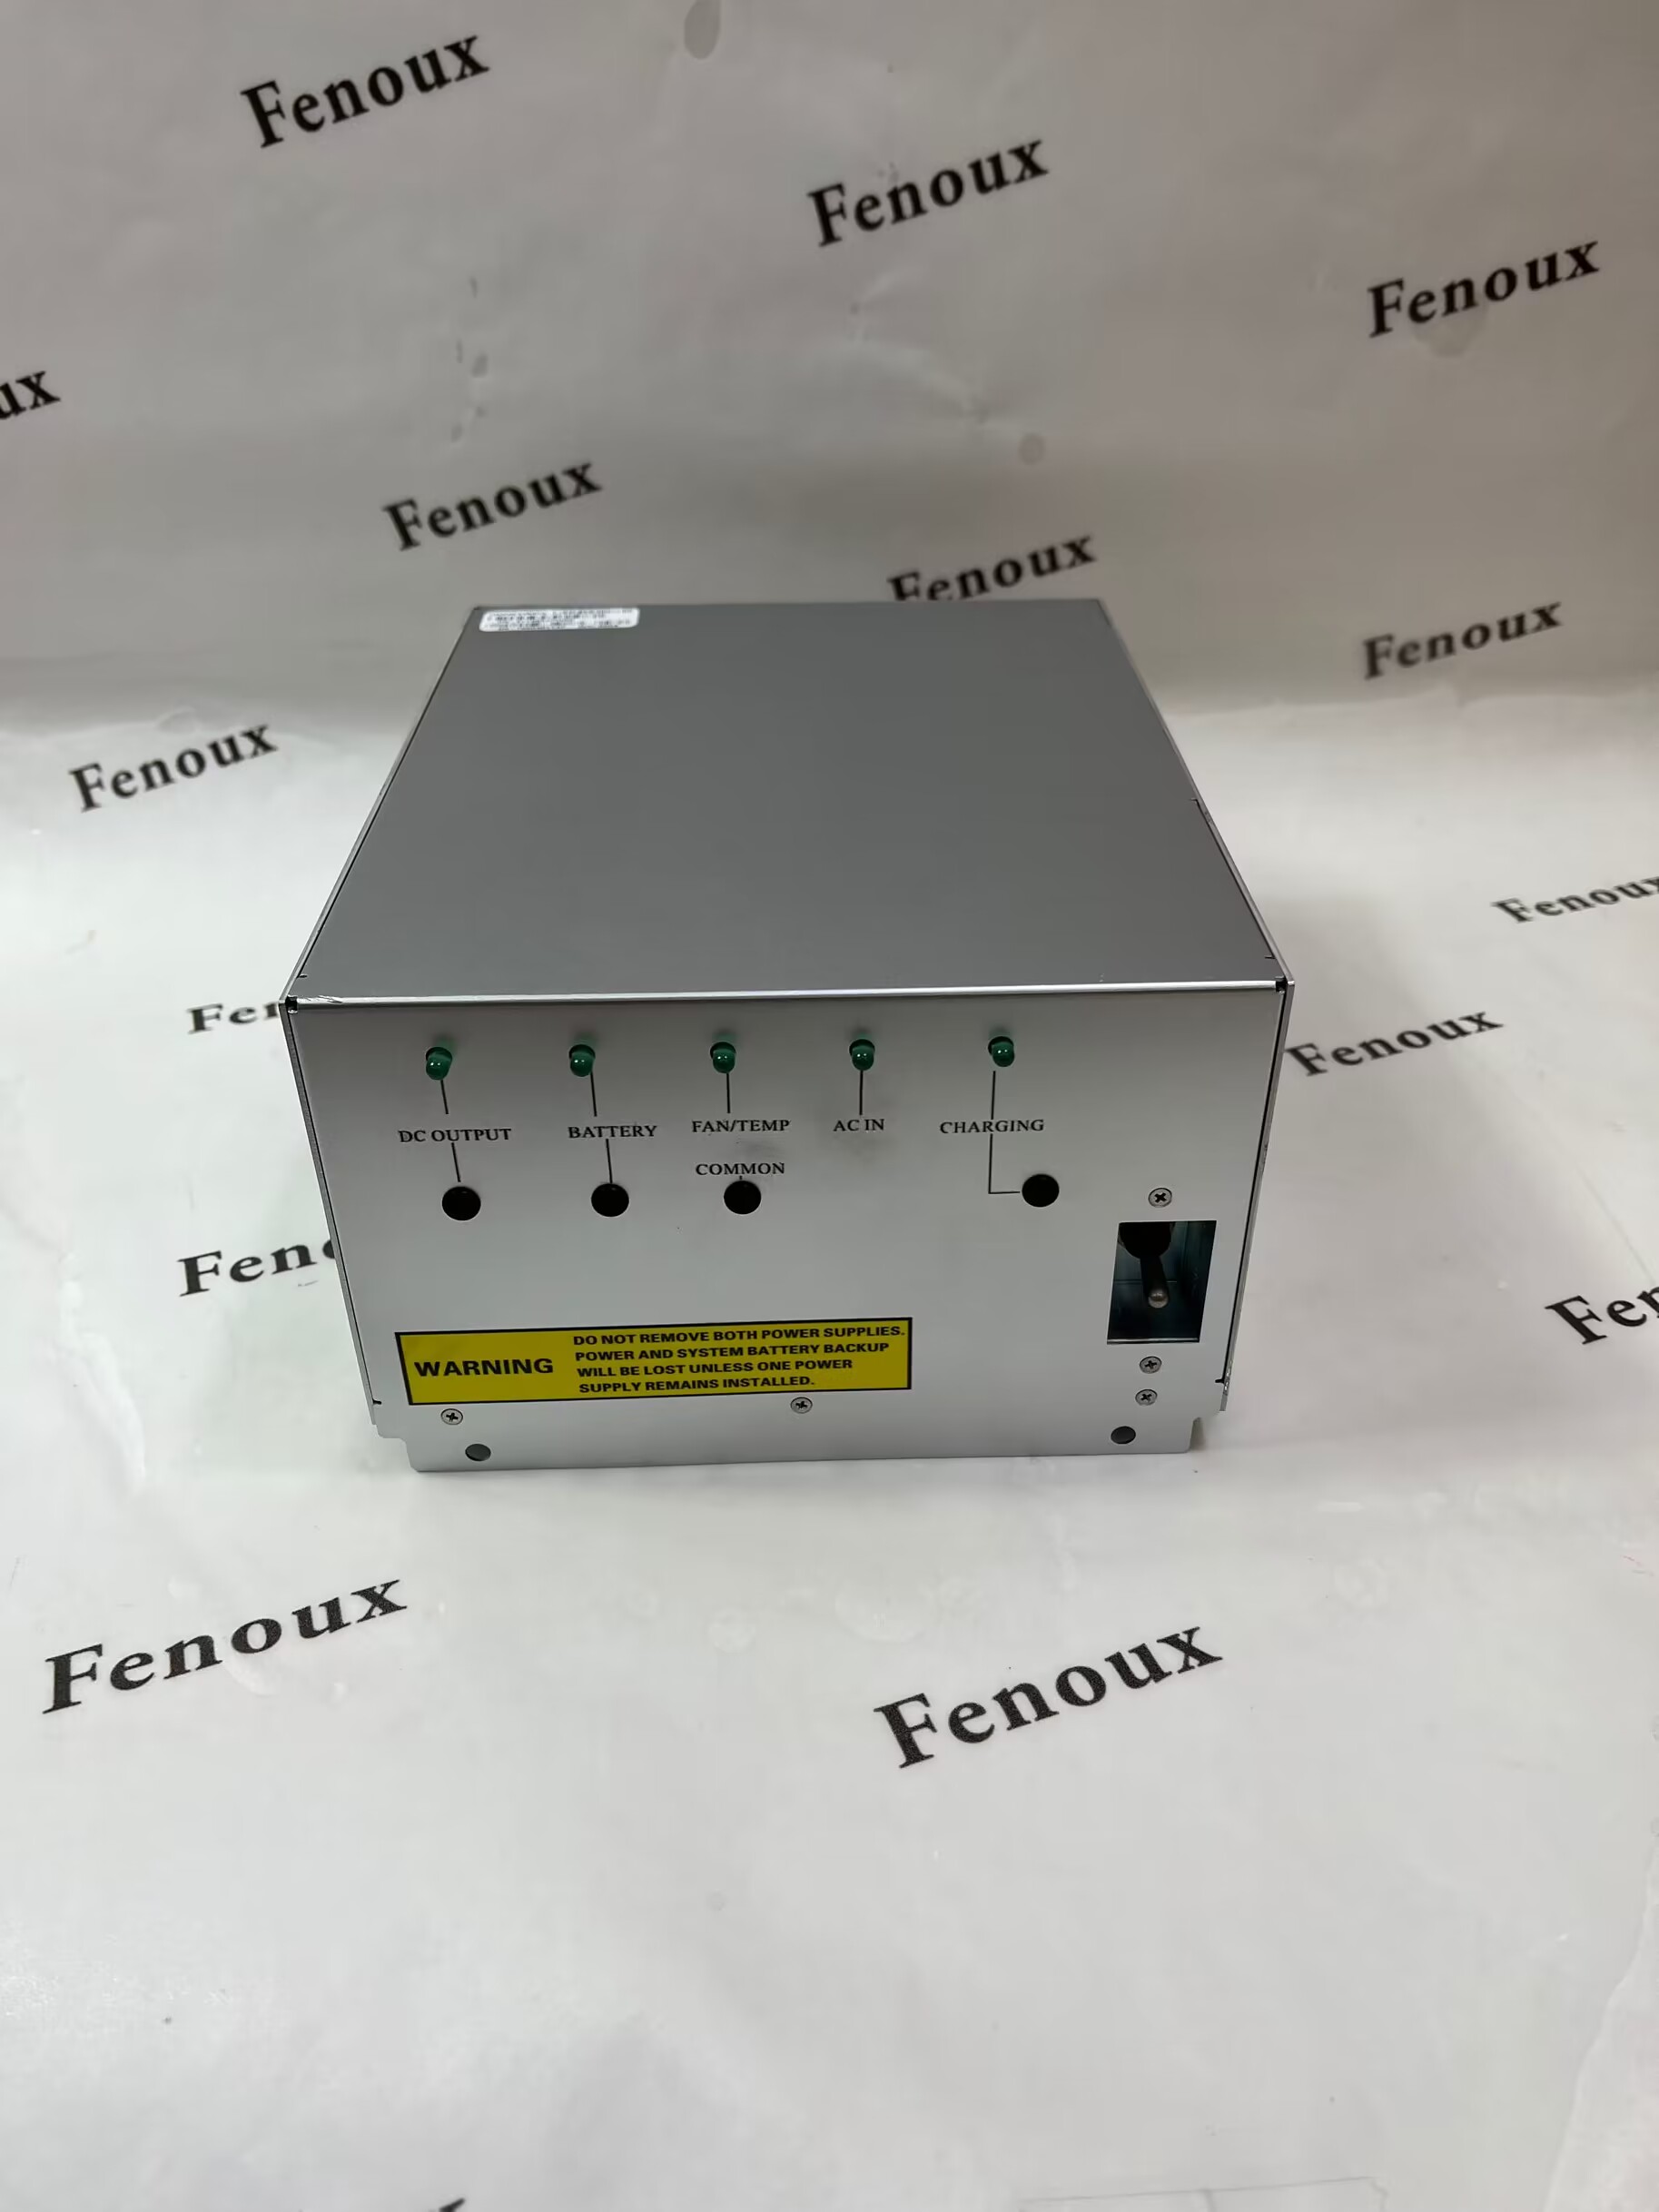
82407021-001 Honeywell Programmable controller Brand new

The maximum allowable field wiring resistance between the transmitter and the IOTA connection terminal is dependent upon the voltage requirement of the transmitter. The formula for calculating the maximum wiring resistance for the Series C UIO channel used as an analog input is given by the following equation.

INQUIRE NOW

Products Name: 82407021-001 Honeywell Programmable controller Brand new

PRODUCT DESCRIPTION

Brand:   Honeywell  

Model number:82407021-001 

Colour:new                  

Warranty: 12 months

Lead Time:3-day working day   

Country of origin: USA Price: Please contact us         

Product weight:0.5kg

Shipping Port:  China

Payment: Bank of Chicago, Bank of Singapore

Express cooperation: fedex, DHL, UPS and your express account

Service Professional Sales provides 24 hours /7 days online service

82407021-001  Honeywell  Programmable controller Brand new  

Description:

You have logged onto Control Builder with sufficient security level to make control strategy

changes.

l You can remove and install the Series C IOM under power.

l Be sure you take ESD hazard precautions when handling the module and IOTA.

16.3.2 To replace an I/O module

1. Loosen the screws:

l at each side of the plastic cover that secures the I/O module to the IOTA board, and

l the long gray plastic screw located on the module's face. It is not necessary to completely

remove this screw.

CAUTION

Only use a #2 Phillips screwdriver to carefully loosen or tighten the long gray plastic

screw. Do not use either a #1 Phillips screwdriver or a battery-powered screwdriver

to remove or install the plastic screw as this can damage the screw head.

2. Remove the I/O module from the IOTA board and connector.

3. Insert the new I/O module onto IOTA board making sure that the I/O circuit board mates

properly with the IOTA board connector.

4. Secure the module to the:

l IOTA board

using the two metal screws at the plastic cover

tightening the long gray plastic screw. See CAUTION in Step 1.

l Carrier - with the long screw that is inserted into the hole on the face of the module's

plastic cover.

The new I/O module boots-up to the IDLE state.

5. Load firmware which is the same version as was running in the old controller.

6. In Control Builder, perform a 'Load with Contents".


image.png

Shipping Port: China

Payment: Bank of Chicago, Bank of Singapore

Express cooperation: fedex, DHL, UPS and your express account

Service: Professional Sales provides 24 hours /7 days online service

Related products:

TC-IXL062

TC-KIOL02

TCM4351A

TCM4351B

TC-OAH061

TC-ODD32

TC-ODX161

TCP202A

TC-RPFM01

TCSECE300R2

TCSEK3MR10

TC-TG-F1C3

TC-XXXXX2